How To Remove A Grille From A 1998-2006 Jeep Wrangler
Does your 1998-2006 Jeep Wrangler need a new grille? You can take care of the replacement at home. It's a straightforward process as long as you have the right tools and this tutorial.
Finding The Right Replacement Grille
Before removing your old grille, it's a good idea to get a replacement grille first. It's important to upgrade to a high quality grille. The last thing you want is to reinstall your old grille after the new one fails.
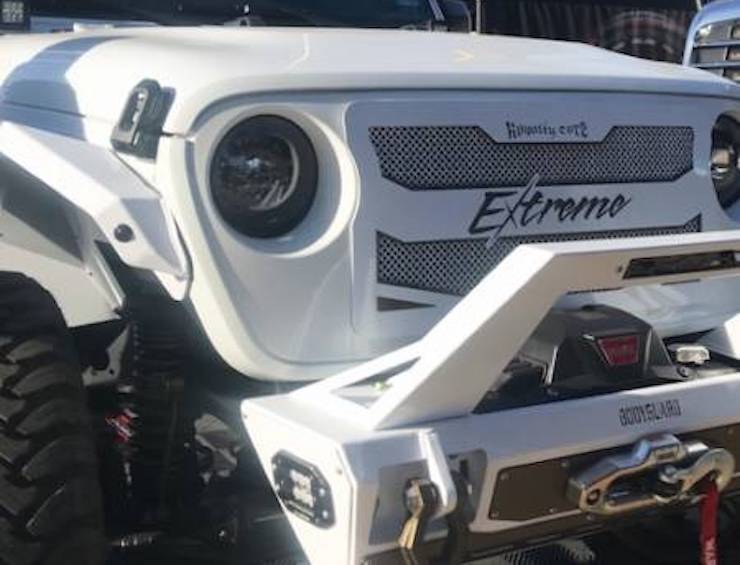
You can't go wrong with the Royalty Core brand. At Royalty Core, we have a full line up of 1998-2006 Jeep Wrangler grilles. We're a leading brand for aftermarket Jeep grilles for the reasons listed here. To sum it up:
- Royalty Core grilles are built to OE specs (or better).
- Royalty Core grilles are built with high quality T304 stainless steel, which is resistant to corrosion.
- We cut our steel with CNC machines, which ensures precise dimensions.
- We test fit all our grilles before shipping them out.
- All Royalty Core grilles come with a lifetime warranty.
- You have the freedom to customize your Royalty Core grille with integrated lighting, emblems, and more.
Please contact us if you need help finding the right Royalty Core grille for your Jeep.
How To Remove Your 1998-2006 Jeep Wrangler Grille
1998-2006 Jeep Wrangler TJ/LJs have a sturdy build. Yet, Jeep designed these vehicles before it started taking assembly/disassembly into consideration. As a result, it's more difficult to remove a TJ/LJ grille than it is to remove one on a JK or JL. It's still doable, though. Here's how:
- Remove the fan shroud.
- Disconnect the AC condenser lines. (If you have AC, the AC condenser is mounted on the back side of the grille. It comes out with the grille. To remove it, you should have a shop evacuate all the old refrigerant before disconnecting the lines to the condenser.)
- Unplug the headlight connectors.
- Remove the ground connectors from the grille at both the driver's side and the passenger's side.
- Unbolt the air temp sensor bracket and then disconnect the wiring harness. You'll find the sensor at the lower front of the grille.
- Remove the headlights and headlight mounts.
- Remove the 3 T15 headlight trim screws per side and then remove the trim piece.
- Remove the 4 T15 headlight retainer screws per side and then remove the retaining ring before removing the headlight bulbs.
- On the back of the grille, you'll find headlight mount bolts. Those are 8mm captured bolts, so they will stay with the grille. (You need to remove the headlight mounts so you can remove the headlight/marker light harness.)
- Remove the wiring harnesses.
- The headlight/marker light wiring harness must be pulled out of the grille from the driver's side. It runs from the driver's side to the passenger's side marker light, so you have to "back out" the length of the harness. There are a number of Christmas tree clips to remove.
- Remove the air temp sensor harness.
- Remove the grille mounting bolts.
- There are six bolts on each side that connect the grille to the fender. Remove all of them.
- There are two cowl braces that run from the grille the cowl. Remove the forward bolt on each where it connects to the grille.
- There is one large body mount bolt directly under the center of the grill. Remove it.
- Remove the grille.
It's a time consuming process, but it's not particularly difficult. Be sure to grab the right tools beforehand, such as a T15 Torx bit.